Instead, this set of postings will cover the download, installation, and basic uses of Picasa. Uploading images to Blogger will also be covered. Since Google has a very clear set of instructions and the download process is a standard one, this section will be brief.
The first thing is to download Picasa. This program will actually be on your computer, instead of being a website that you access, which means that you do not have to be online to use it
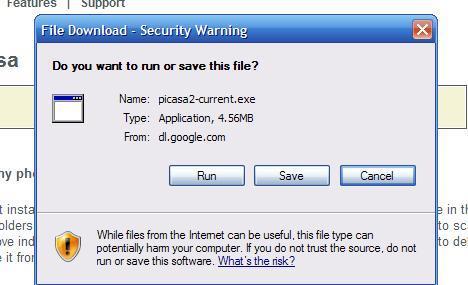
1. This is what the download link looks like.

2. Save the file.
3. Make sure that it's in a convenient, easy to remember location. Setting aside a folder on the Desktop is good if you keep the contents organized and uncluttered.

4. Picasa will guide you through almost everything. If you're unsure where to save something, it's usually best not to specify a directory and let Picasa decide for you with the default location.

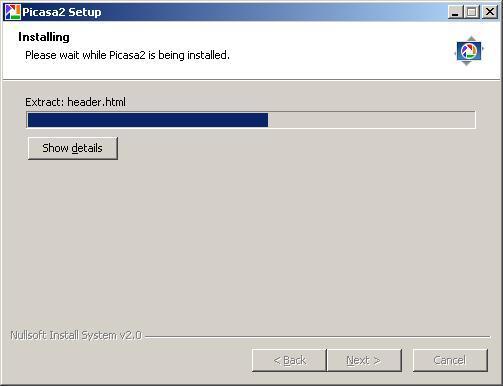
5. Picasa working to install itself. Sit back and relax here.
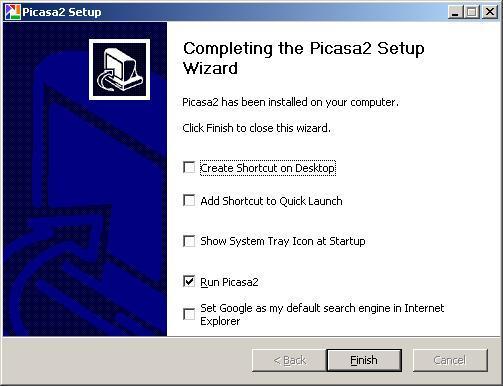
6. Here's where you can decide where you want shortcuts to be placed. Check any or all of these options, but deciding to Run Picasa2 (this is the version that you've just downloaded) is a good idea because you won't have to locate the downloaded file. You could if you wanted, but it's easier to let Picasa do the work for you.
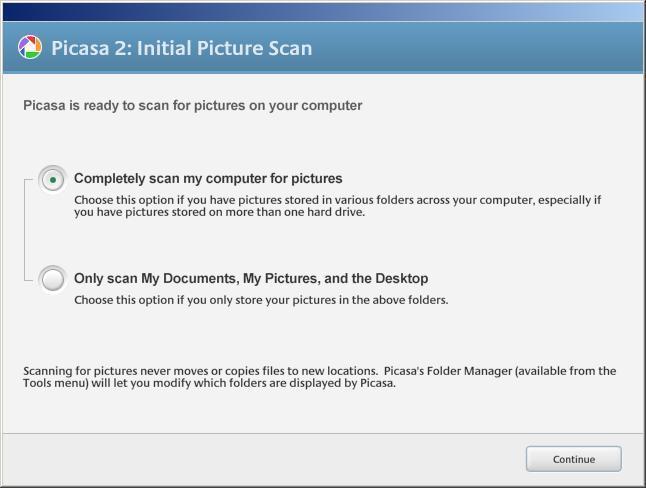
7. If you've despaired of finding all of the different places where you've stored images on your computer (with folders named My Pictures, Images, My Images and others), it's a good idea to let Picasa scan your entire computer. You might get pictures that you don't want to keep in Picasa, but those can always be winnowed down later. If, however, all of your pictures are labeled, organized, and in one central location, you might want to choose the folders that Picasa scans.
Here's a fuller description of the scanning process from Google:
"Wow, Picasa found all my photos!
When you install Picasa, it instantly goes to work, organizing all the pictures on your hard drive by date in the "Folders on Disk" collection. If Picasa finds folders you don't want, go into Tools > Folder Manager to tell it which folders to scan once, scan always or remove. To remove individual pictures from your library, simply select a photo and right-click to delete it permanently from your computer or hide it from Picasa."
No comments:
Post a Comment