StumbleUpon is a fun way to waste time online. They describe their site as a way to "channel surf" the web. By selecting categories of websites that you're interested in, you can visit randomized websites in those categories and rate them. Much like del.icio.us, there's a page showing you all of the pages that you've rated, and there's a social aspect as well.
9. Once you're on the site, decide if you're going to use the Internet Explorer browser or the Firefox browser by clicking on one of the icons as seen below. Register your information (it doesn't appear that the age is necessary, and feel free to use a pseudonym.)

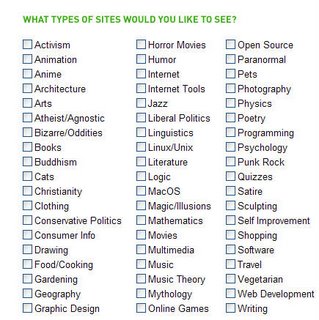
10. Now, pick the categories that you're interested in viewing. There are a lot of possibilities, so pick topics freely and with abandon. It's much easier to pick topics here than to add them later, so click on the more topics button and view the additional options. (Note the picture below won't correspond exactly with the topics list that you're seeing as you register.)
Once you've selected all of the topics, click Download Now at the bottom. You might need to pick another username, if it's already been taken.
11. Now, you'll need to get the tool bar. Click the download button. You'll be taken to a different site to download the toolbar (this site is also reliable and trustworthy).
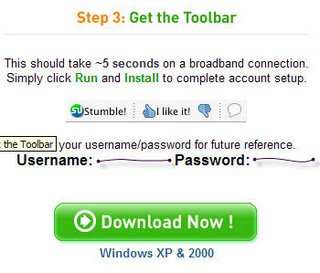
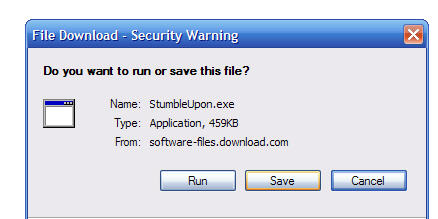
12. Click the Download Now button on the second site.
13. Run install.
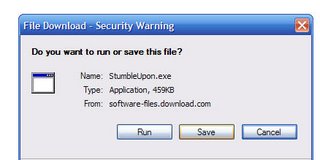
14. Run the software.
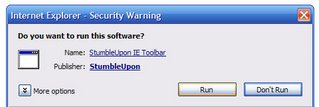
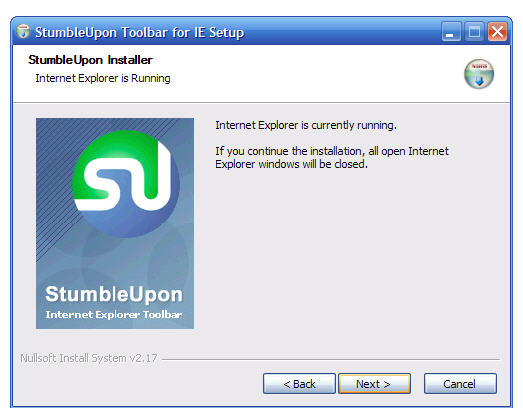
15. The install wizard will appear. It will say that all of your open IE windows (if that's the browser you've selected) will be closed, so close and save your tabs if you want. The program will set itself up, and will open up a new browser with the new buttons already installed. (If they don't appear, right click on the toolbar area, and put a checkmark by the StumbleUpon option. Similarly, if you ever decide that you don't want to use StumbleUpon, you can uncheck it, and those buttons will vanish. Same with the del.icio.us buttons.)

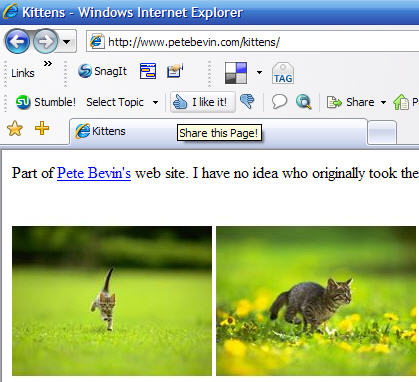
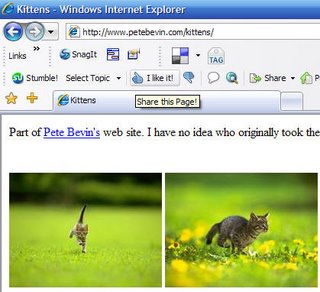
16. Here are the StumbleUpon buttons. Pressing the SU button will take you to a random site based on your interests. Here, it selects a kitten site based on the Cats topic.

17. I decide that this is a cute site, and I like it. Now, I can press the thumbs up button stating "I like it!" to save this site onto my SU page.
Once you vote on a site, a little button offering reviews of this page (written by other SU users) will appear to the right of the down thumb.
Some of the more interesting menu options are to:
-stumble by keyword (search by specific topics)
-send this page to (an easy way to share interesting pages you find)
-my page (similar to the del.icio.us page which lists the pages you've found and rated)
-my friends (where you can find other users)
-inbox (SU messages)
-menu
18. My Page is a page where all of your positively rated sites will appear. You can even filter the results via pulldown menu. You can see when the page was added, and can go back to the original page you stumbled upon.
It shows the topics (similar to tags or labels) applicable to the page.
For more info on using StumbleUpon, you can click the mail icon to be provided with more explanations of SU features. The fun of the program is exploring.

One more perk of the SU toolbar, you don't have to visit the StumbleUpon website again to keep seeing random websites. You can click the button at any point in your webbrowsing, and it will find a site for you to enjoy.