Flickr is a very popular website allowing users to upload their own photos and to browse other photos. It's recently been updated to allow compatibility with beta-version Bloggers.
To use Flickr, you'll need a Yahoo email account since Flickr was acquired by Yahoo! a year ago. It's also helpful to log into your Blogger account and have it open in another browser window while you're working with Flickr. This will make it easy for you to go back and forth between the programs.
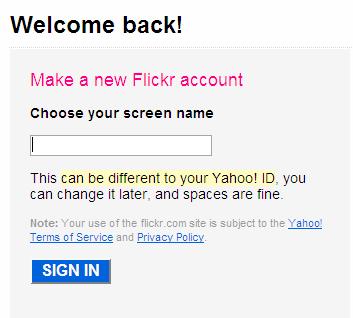
1. To begin, go to Flickr's website and click the sign up link. Once you've entered your Yahoo! information, you'll see this screen. (Note: it's welcoming you back to Yahoo, not Flickr).
You'll pick a screen name to use on Flickr here, but it does not have to be the same as your Yahoo name if you're concerned about privacy, and you can change your username later.
2. Here's the welcome screen. You'll want to get everything set up to integrate your blog and Flickr before exploring the site since Flickr can be somewhat confusing to navigate.
Click on the Upload 1st Photo Link.

3. Flickr uses the same forms to upload your photos as Blogger does. Use the browse button to find your images.

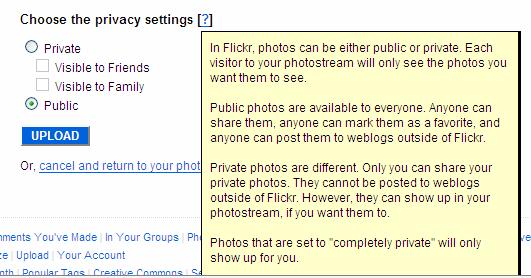
4. You can add the same tag to every picture that you're uploading so if you have 5 pictures taken on your ski trip to Aspen, you can tag them all with "Aspen." Clicking on the blue question mark will display a help box as the picture below shows.
Your privacy settings are up to you to determine who can view your photos. The help box refers to a "completely private" setting which is what happens if you select the "private" button without selecting the "visible to friends" or "visible to family" settings.
Once you've selected the photos, tagged them if you want, and have determined the privacy setting, hit the Upload button.
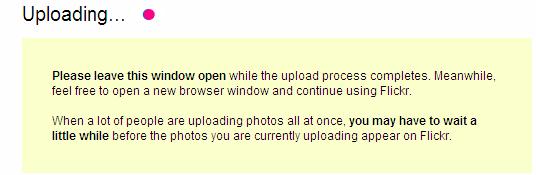
5. You'll be instructed to leave that window open. The first time that I tried to upload pictures, I received an error message and had to browse and select my photos again. Don't be discouraged if this happens! Go back and upload your photos again.
6. Once you've successfully added your photos to Flickr, you'll be asked to describe your photos. I chose to upload a picture from an earlier posting showing the bottom toolbar of Picasa. The title autofills with the name of the file. You can add your own notes to the photo which will display when that photo is selected. This is a good opportunity to record memorable things about the image such as: the date it was taken or any funny stories associated with the picture (such as Uncle Bob doing the splits inadvertantly on his skiis).
If you uploaded a batch of photos with the same tag, it will appear here. You can now add additional tags for each photo. It helps to come up with unique but memorable nouns like "skiis" or "funny" to help you sort through photos later if you plan to upload many photos to Flickr.

Go ahead and upload as many pictures as you'd like now.
No comments:
Post a Comment