9. Clicking on the Choose your image link will bring up the standard browse and select window. Find and upload your image. I'll be using the same flower from Zuleyha which is available for derivative works by the Creative Commons license.
There are different options available on this menu. Feel free to experiment, and make sure that you've saved the original of your image to Gmail.
Mousing over the buttons will show what each option does. Notice the prominent Undo option.

10. Click on the Fun Effects link, and then click on the Lomo option which darkens the corners and brightens the center of the picture, focusing attention on the middle of the image. I used 60% opacity with this result. I like the way the circular shape of the colors highlights the already winding pieces of the petal.
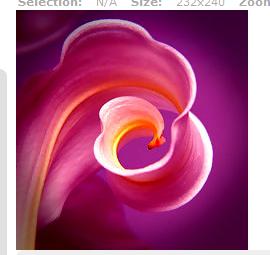
On top of the photo, the size of the photo is displayed in pixels.

11. If you press Undo, a small text line will appear at the top telling you what changes are being undone. If you decide that you'd like to keep the changes, there's always Redo.
I've now decided that the intensity of the colors isn't dramatic enough, so I'm going to select Enhance from the top menu.
12. Because I'm experimenting with this image, and want to make it look not only dissimilar to the original image but also the Picasa-edited image, I'm going to rotate this version. Once.
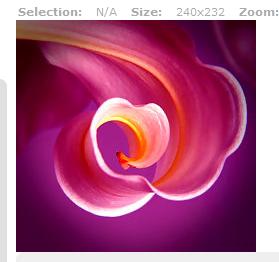
13. Twice.

14. Three times. The size has now changed from 232X240 to 240X232. This picture has now been fairly well edited, and I'm satisfied with the results. Except, it seems a little dark....

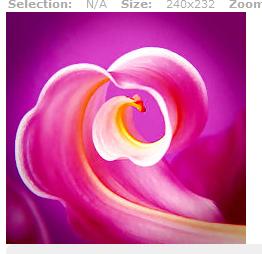
15. After using the Fill Light option twice.
Now that I'm done with this particular variation of the image, I can either save the file to my computer or upload it to Flickr, which is what we'll do. Click on the Upload to Flickr option, and log into Flickr with your account information.
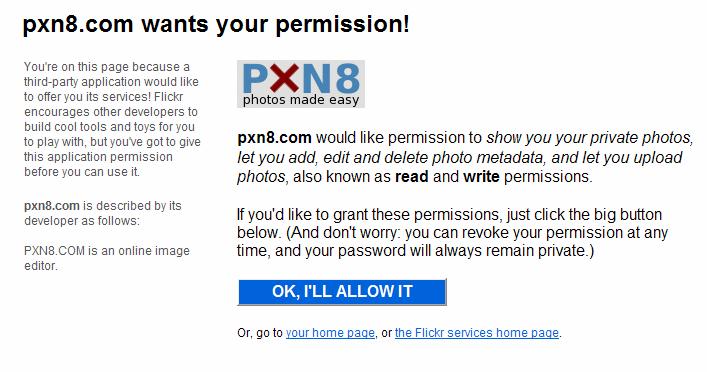
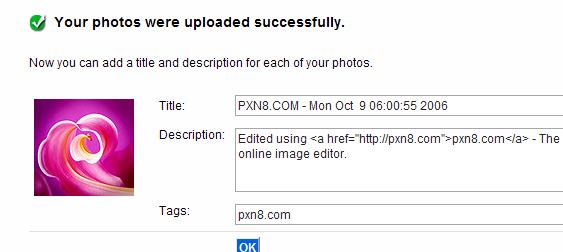
16. After you've signed in, you'll be asked to verify that PXN8 is allowed permission to upload your photos to your Flickr account.
17. After you've accepted, you'll see this screen with confirmation that your photos were uploaded. PXN8 automatically uploads and autofills the photo title, description, and tags, all of which can be deleted if you'd rather not provide that site with free advertising. You can now use Flickr to upload to your blog, or just organize your collection.
18. This shows a few more fun options from PXN8. This is the culmination of the:
-saturate
-spirit horizon
-rotate
-enhance
-interlace (with white) options.

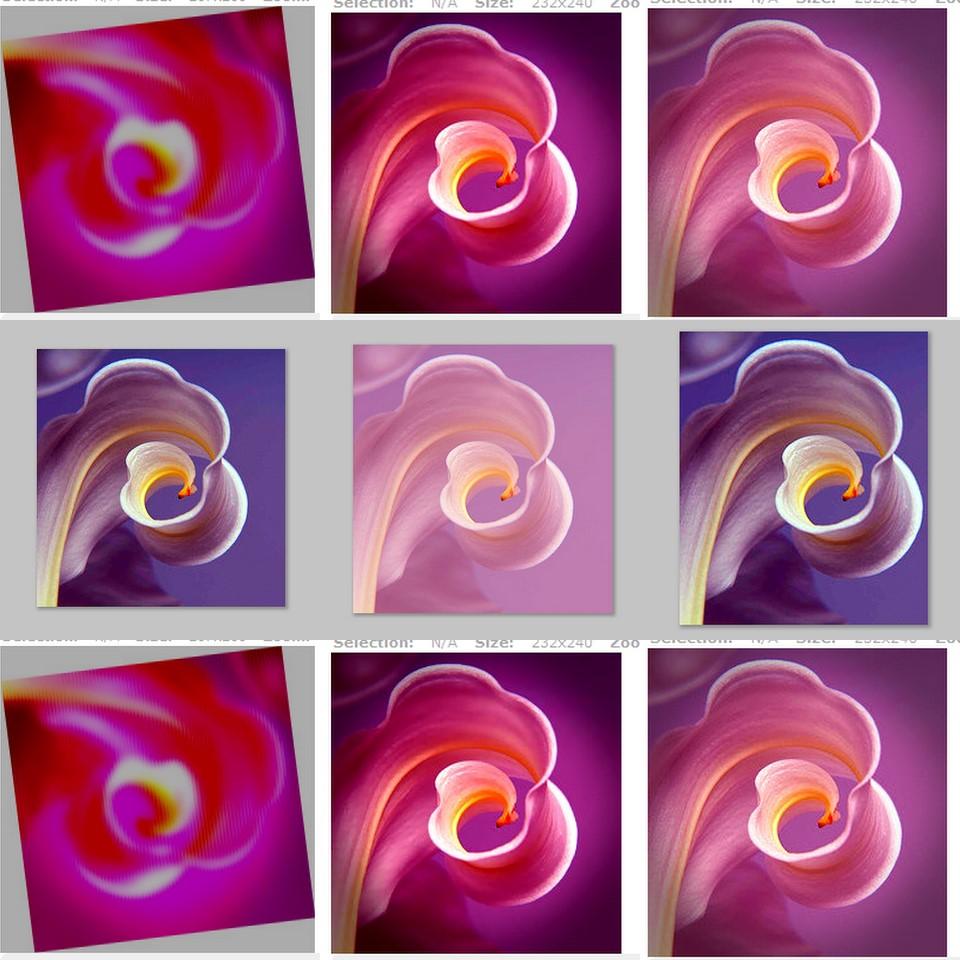
19. To make this collage, I used Picasa's collage feature and added several of the edited photos to the photo tray. Voila!
No comments:
Post a Comment