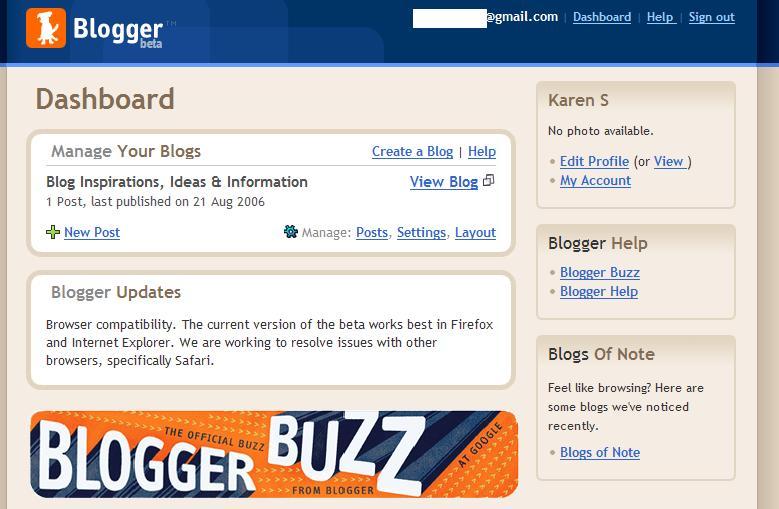
Starting from the top, let's go over the components of the Dashboard. At the very top is your Google Account information, which won't be displayed when someone else is viewing your blog.
The first tan box on the top right is where the profile can be edited and account information can be viewed. We'll edit the profile in a future post.
The white box in the middle of the screen entitled "Manage Your Blogs" is where you will return, again and again. This blog is titled "Blog Inspirations, Ideas & Information" and the last post's publish date is given. The "Create a Blog" link is to create additional blogs within your blog, should you choose to do so, and is beyond the scope of this project. The "Help" link is invaluable. If you ctrl+click that link, it will bring up the help menu in either a new tab or a new window (depending on your browser.) From there, you can find the way to resolve an issue or read more about a new idea and still be able to access your blog. The green plus sign will let you create a new post, but have patience! We'll create a new post after all of the settings are adjusted.
The next tan panel down is the third place to find the help menus, and Blogger Buzz is also found beneath the second white panel. This is the Blogger blog which announces changes, issues, and updates. The second white panel also provides information on recent changes.
The third tan panel is one of many blogs that Blogger staff find interesting.
In the first white panel, click the "Settings" link.
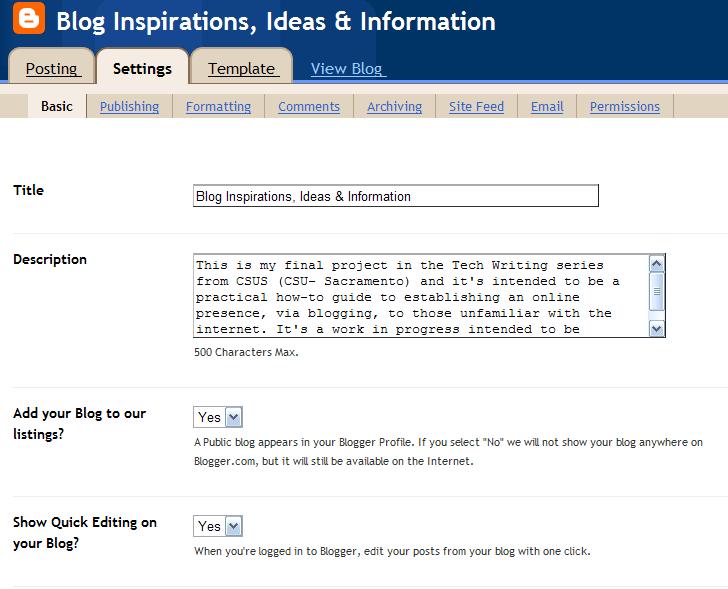
6. This brings you to a new screen. The blog's title is on the top, and instead of panels, there are tabs. The controls are divided up into three sections, neatly defined by tabs: posting, settings, and template. We'll cover the first two, and save the template options for another post. The settings tab is something that can be used once, and then left alone once you're content with the way that things are. The posting tab is something that will be used each and every time you create a post.
Note that the current, active tab is lighter than the other inactive tabs. This indicates that we are on the Settings tab under the Basic functions. Sometimes you'll see this in helpfiles as Settings | Basic.
Devise a title and description of your blog here.
I've chosen to make this blog public on Blogger, as well as on the internet. Enabling Quick Editing allows faster adjustments to posts - quite a helpful feature.
7. Say that your blog becomes popular or you want to share a page, enabling the Email Post link will allow your page to be emailed.
Global settings aren't really a concern, since we'll be staying with one blog, but you do want a Compose Mode. This allows you to use a wysiwyg editor (which the link explains is a "what you see is what you get" way to edit your posts. There won't be any changes from the way that you see the page with this editor to the way that your visitors see the page you've created. This simplifies page composition and eliminates a lot of frustration.)
The giant orange Save Settings button is found all over the site. Save your settings now, and we'll go onto the next Settings option.

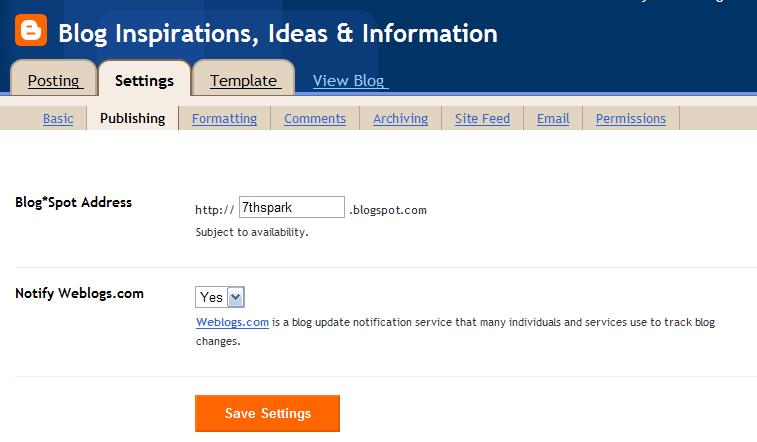
8. This is the Settings | Publishing tab and will let you change the address of your blog (should you wish) and allow frequent viewers of your blog know when you've updated. Save Settings here.
9. Now we're on the Settings | Formatting tab and all of these affect how your blog's dates will be displayed. I've chosen the settings that I think will work best for this blog. The orange question marks next to a feature will provide more information. A ctrl+click is recommended so you don't move away from your blog.
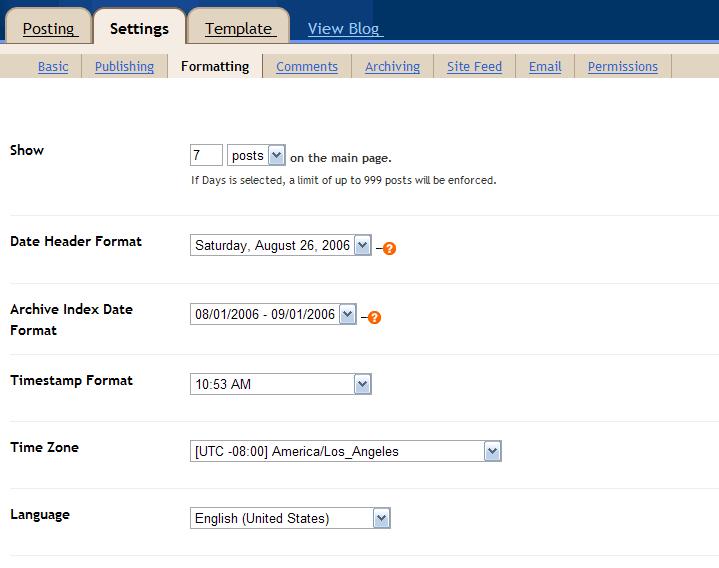
10. The second part of the Settings | Formatting tab is continued below with some of the more advanced options. It might be a good idea to leave the default settings until you've had a chance to understand more of how things work. As always, when you see the orange Save Settings button, save!

2 comments:
Karen,
I think I remember you saying that it is impossible to move the images that you have placed on your site. Is that right? If not, would you consider moving your first image of the dashboard after your first paragraph, so that a novice like me can see right away what you are talking about? Just a suggestion, take it for what it is worth.
It was impossible (or close to it) but with the changes Blogger's making , it's much easier to move images throughout a post.
Post a Comment