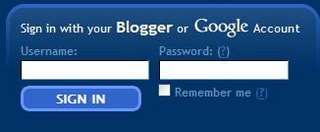
1. You're going to begin with the Blogger site. At the top right of the screen there is a log in screen where you can enter your Google Account name (your Gmail login name and password.) Enter that information, and you will be brought to the next screen.
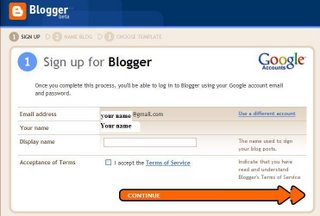
2. This is the sign up screen, where your Google Account information will be filled in, and there will be a blank space for your Display Name. (Note, this is the name that will be shown as the author of blog postings. You can change this name later through the Dashboard under the Edit User Profile.) This is not your blog's name. This is the name used to sign the blog postings.
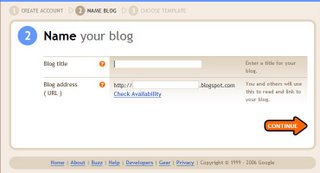
3. This next screen brings you to the blog naming process. Be prepared to take time here. The Check Availability link will provide suggestions for names that are similar to the one that you entered. Consider the strategic placement of a hyphen. Perhaps SaraSmith.blogspot.com is taken but Sara-Smith is available.
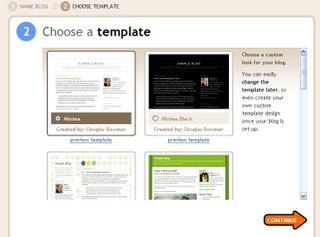
4. The next choice is to decide upon a template. This is the preset layout for your blog. It's easiest at this stage of blogging to choose one of these preset templates, and remember that you can change almost everything later as you become more proficient. The previews are helpful, and the color variations are grouped together, which is a new feature of the beta Blogger. Choose one that appeals to you, and save the customizations for another time.
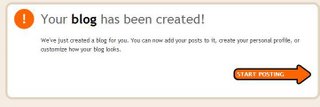
5. Once you've created a name for your blog, and Blogger's accepted it, congratulations, you have a blog!
No comments:
Post a Comment